Hey there, savvy homeowners in Hamilton, OH! Are you ready to learn how to repair drywall before painting? Before you dive into the transformative world of paint, there’s a crucial step you can’t skip—drywall repair. It’s all about setting the stage for a stunning finish, and I’m here as your guide, an interior residential painter in Hamilton, OH, to walk you through it step by step. Let’s ensure your walls are as smooth as your project plans!
Key Takeaways:
- Understanding Drywall Repair: Learning how to repair drywall before painting ensures strong paint adhesion and a flawless finish.
- Effective Cleaning Method: Proper cleaning of walls is crucial for the adhesion of spackling or paint, enhancing the repair quality.
- Identifying Wall Issues: Detecting and addressing common wall issues like holes, cracks, and tears is essential for successful drywall repair.
- Professional Assistance: Hiring interior residential painters like DeltaPro Painters guarantees precision, pace, and minimal disruption during the repair process.
- Comprehensive Preparation: Priming after repairs is vital for even paint absorption and preventing imperfections from showing in the final paint job.
How to Repair Drywall Before Painting: A Step-by-Step Guide
Step 1: Clean the Slate
Before you tackle any interior residential painting and repair, starting with a pristine surface is crucial. Any leftover grime or residue can interfere with the adhesion of spackling or paint. Here’s how to effectively clean your walls:
- Choose Your Cleaner: Opt for a mild detergent mixed with warm water. Avoid harsh chemicals that can damage the drywall or linger under the paint.
- Gather Your Tools: Arm yourself with a soft sponge or a cloth—something gentle enough not to scratch or dig into the drywall.
- Wipe Down the Walls: Dip your sponge or cloth into the cleaning solution and wring it out to avoid dripping excess water onto your walls. Start from the top and work your way down in gentle, circular motions. This method helps capture dust and dirt without pushing it into uncleaned areas.
- Tackle Stubborn Spots: For regions with thicker dirt or oily fingerprints, apply more pressure or go over the spot a few times to ensure it’s spotless. Be careful around areas where the drywall is already damaged to prevent the problem from worsening.
- Rinse if Needed: If you’ve had to use a bit more detergent, it’s wise to go over the walls with a clean, damp cloth to remove any soap residue, which could affect paint application.
- Dry the Walls: Finally, allow your walls to air dry entirely or help it along with a dry towel. Moisture is the enemy of effective drywall repair and painting, so ensure the surface is thoroughly dry before proceeding to the next step.
Step 2: Spot the Problems
Now, channel your inner detective. Examine your walls for any signs of trouble—holes, cracks, and tears. Here’s how to repair drywall before painting when you encounter common issues during your interior residential painting:
- Small Holes: Grab a putty knife and some lightweight spackling compound. Fill those holes and ensure they are level with the wall.
- Larger Holes: Use a self-adhesive patch or mesh tape for bigger challenges, then cover with joint compound.
- Cracks: Widen them slightly with a utility knife for better filler adhesion, then smooth on some joint compound.
- Tears: Trim, tape, and apply joint compound as needed. Remember, feathering is your friend for seamless repairs.
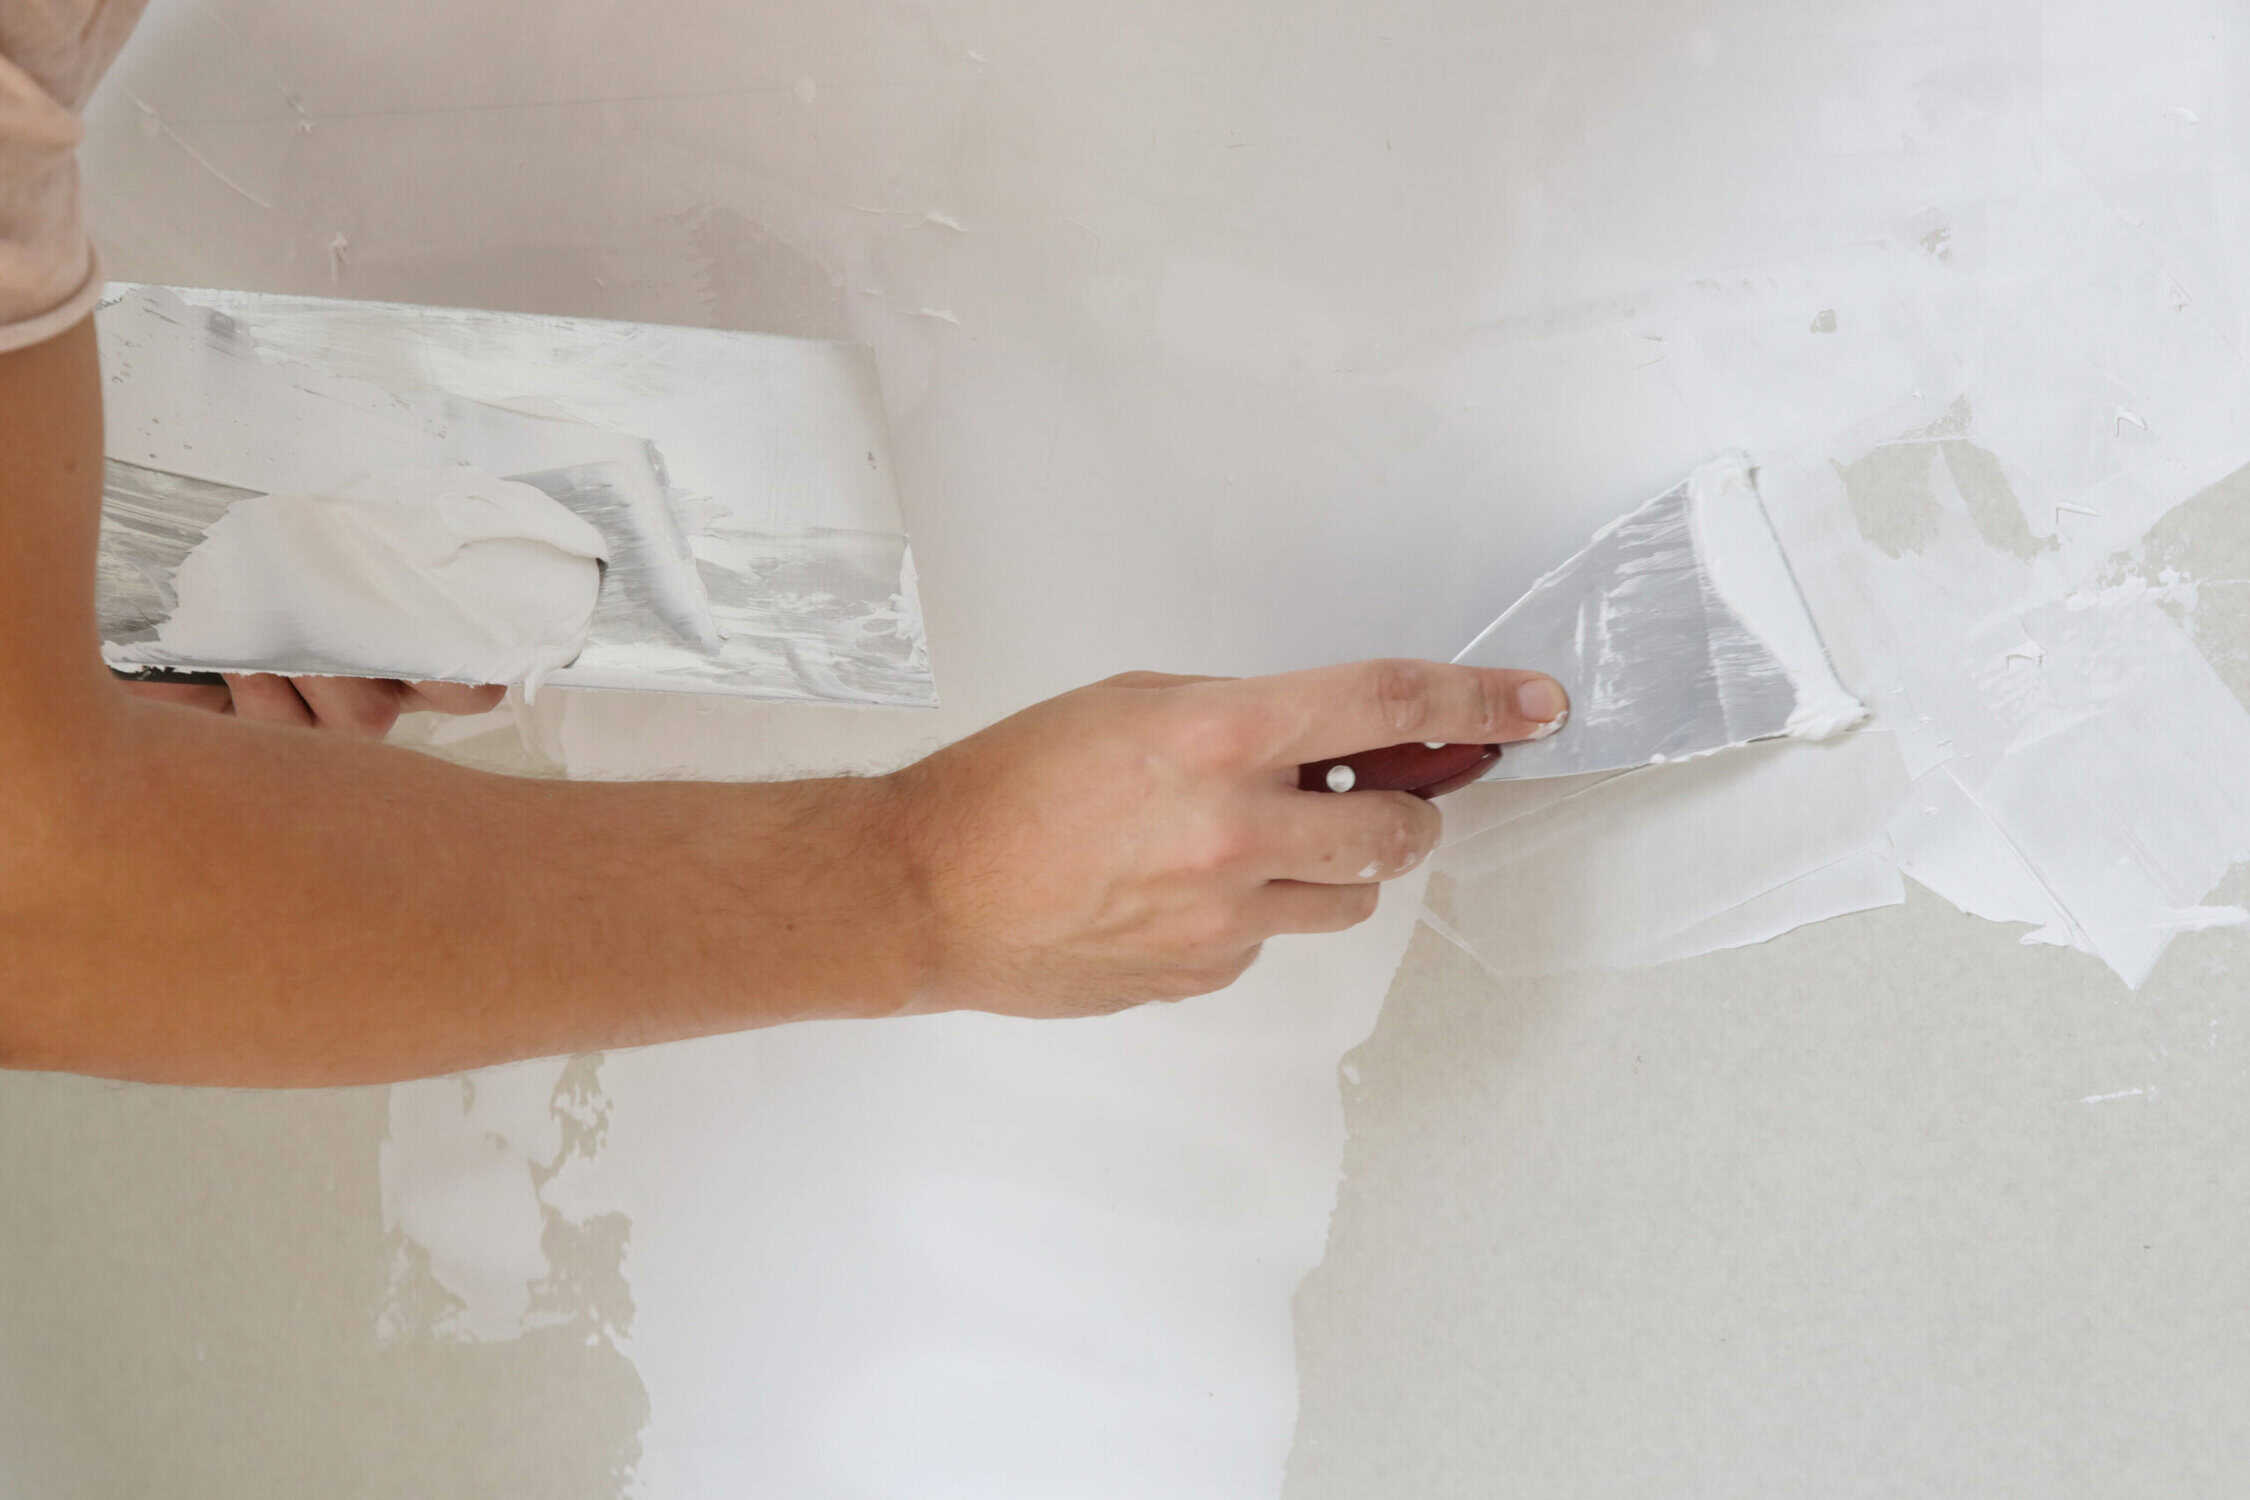
Step 3: Smooth and Sand
Once your patchwork has thoroughly dried, the next crucial step is sanding. This process is key to achieving a smooth, seamless finish that will make your interior residential painting project look professional. For best results, use fine-grit sandpaper, which is gentle enough to smooth out the surface without causing damage.
Approach the task with light, even strokes to blend the repaired areas with the surrounding wall evenly. This careful sanding ensures you won’t undo your meticulous repair work, preparing your wall perfectly for priming and painting. Take your time to achieve a flawless base that will make all the difference in your final results.
Step 4: Prime and Paint
Don’t just slap on paint. Prime your patches to ensure uniform paint absorption and prevent those repairs from haunting you later. Opt for a high-build primer for the best coverage in your interior residential painting.
The Professional Touch: Why Choose DeltaPro Painters?
Let’s face it: DIY can be satisfying but also a tad overwhelming, especially with packed schedules and the striving for perfection. Enter DeltaPro Painters, your trusted interior residential painters. We ensure your drywall is repaired without the hassle. We keep the mess minimal and the results maximal.
Our experts know their stuff. From choosing the right materials to applying them expertly, we ensure your walls look great and stand the test of time. We respect your space and schedule. Expect transparent pricing, no hidden fees, and a schedule that fits your life.
Wrapping Up Your Wall Renovation Journey
There you have it—a complete guide to ensuring your walls are perfectly prepped before that exciting paint overhaul. With DeltaPro Painters, you’re not just painting; you’re adding lasting value to your home. Ready to transform your walls? We’re just a call away. Let’s paint a brighter future for your home!
Remember, good preparation today leads to great satisfaction tomorrow. Here’s to a beautiful home in Hamilton, Mason, West Chester, Cincinnati, and the surrounding North Ohio suburbs! For a FREE estimate, call us today at 513-995-6965.

