
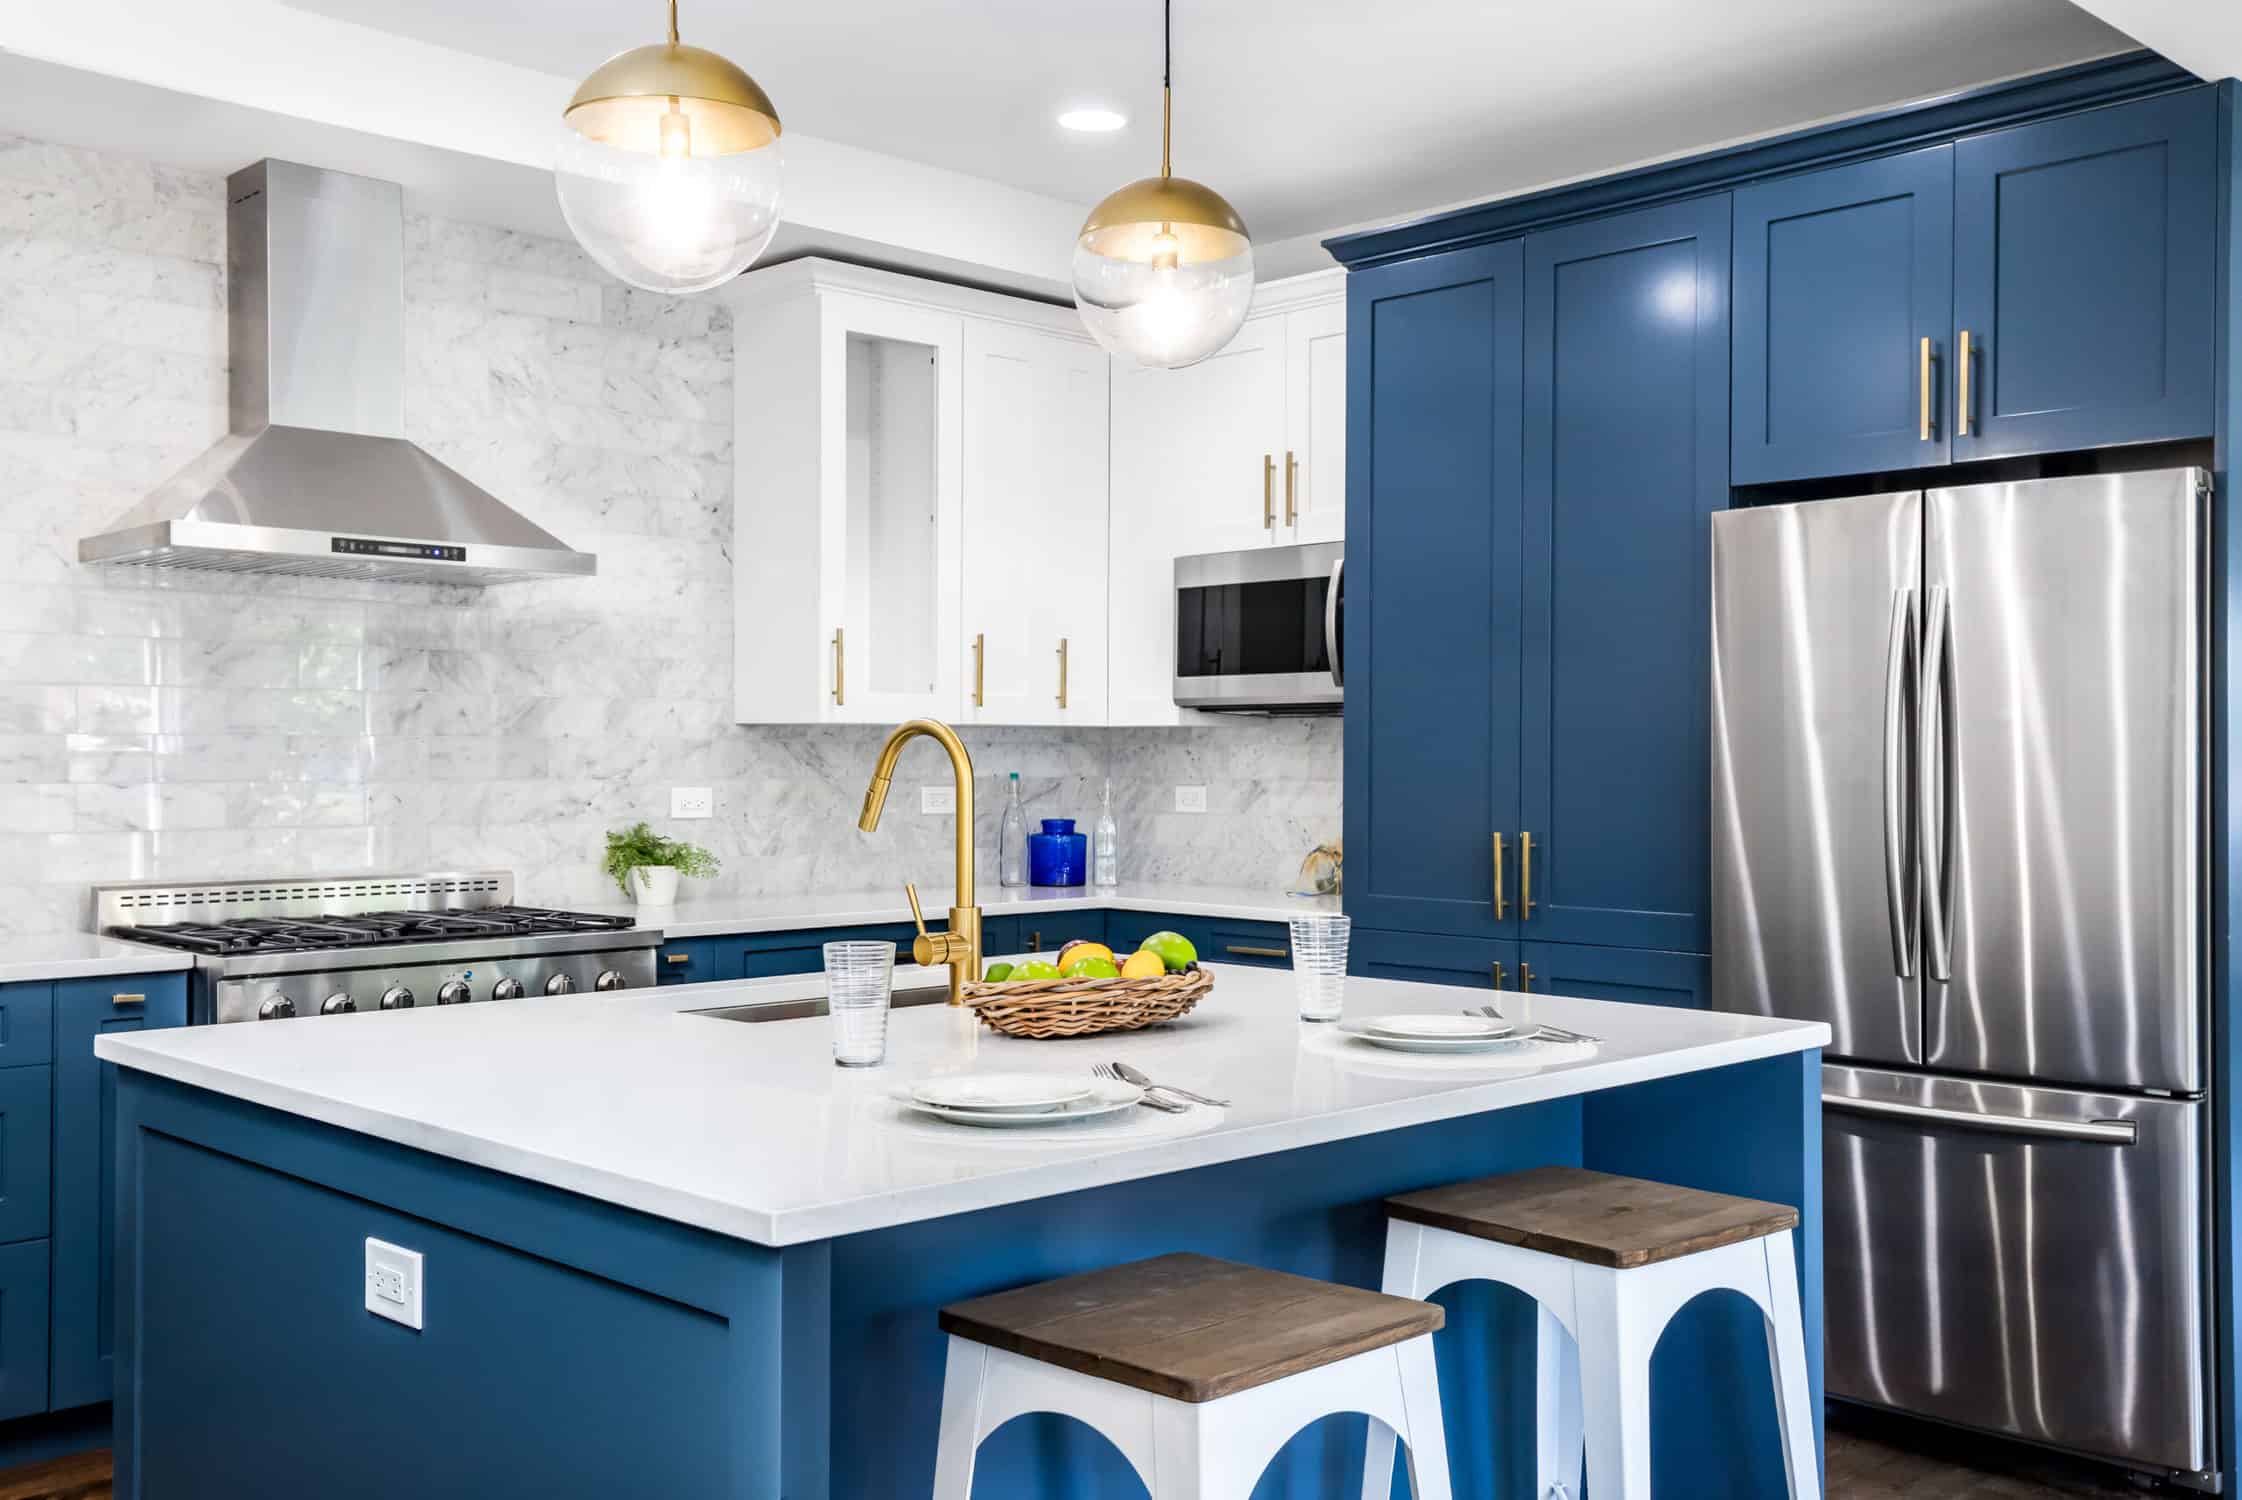
Knowing how to clean cabinets before painting is crucial for a flawless finish. Proper preparation is the key to ensuring that your new coat of paint adheres well and looks professional. As a seasoned cabinet painter, I’ve seen how skipping this essential step can lead to disastrous results. Let’s dive into cleaning your cabinets before painting to avoid mishaps and ensure a stunning final result.
Why Proper Cabinet Cleaning is Crucial
Properly cleaning cabinets before painting is not just a suggestion—it’s a necessity. Dirt, grease, and grime can interfere with paint adhesion, leading to peeling, bubbling, and an uneven finish. Imagine spending hours painting only to have the paint start peeling within weeks. This scenario is expected when the cabinets are not adequately cleaned.
You remove contaminants that prevent the paint from bonding correctly by thoroughly cleaning your cabinets. A clean surface ensures the paint adheres smoothly, producing a durable and professional-looking finish. Additionally, taking the time to clean your cabinets demonstrates your commitment to quality, which can significantly enhance the overall aesthetic of your kitchen.
Essential Supplies for Cleaning Cabinets Before Painting
To achieve a flawless finish, you need the right tools and supplies. Here’s a list of what you’ll need:
- Degreasers: Choose a heavy-duty degreaser to remove stubborn grease and grime.
- Sponges and Scrub Brushes: Use non-abrasive sponges and brushes to avoid damaging the cabinet surface.
- Microfiber Cloths are perfect for wiping down surfaces without leaving lint behind.
- Gloves: Protect your hands from harsh chemicals and cleaning agents.
Choosing high-quality cleaning products is crucial. For instance, I always recommend using TSP (trisodium phosphate) for a thorough cleaning. It’s a powerful degreaser that effectively cuts through tough grime. Remember, investing in good supplies will pay off in the final result.
Step-by-Step Guide on How to Clean Cabinets Before Painting
Remove Cabinet Doors and Hardware
Before you start cleaning, remove the cabinet doors and hardware. This step allows you to clean every nook and cranny. Use a screwdriver to detach the doors, hinges, and handles. Place all hardware in a labeled container to avoid losing any pieces.
Dust and Vacuum the Cabinets
Next, dust and vacuum the cabinets to remove loose dirt and debris. Use a soft cloth or a vacuum with a brush attachment to ensure no particles are left behind. This step is essential for preventing dust from mixing with your cleaning solution, which can create a gritty residue.
Apply a Degreaser
Apply a degreaser to the cabinet surfaces. Spray the degreaser generously and let it sit for a few minutes to break down the grease. Then, use a sponge or scrub brush to clean the surface. Pay special attention to areas near the stove and handles where grease accumulates the most.
Scrub and Rinse
After applying the degreaser, scrub the cabinets thoroughly, covering all areas, including corners and edges. Once the cabinets are cleaned, rinse them with water to remove any remaining cleaning solution. Use a damp cloth to wipe down the surfaces.
Dry Thoroughly
Finally, let the cabinets dry completely before moving on to painting. Moisture can prevent paint from adhering correctly, leading to bubbling and peeling. Use a dry microfiber cloth to speed up the drying process, or let the cabinets air dry for a few hours.
Common Mistakes to Avoid When Cleaning Cabinets
Even with the best intentions, making mistakes when cleaning cabinets is easy. Here are some common pitfalls and how to avoid them:
- Using the Wrong Cleaning Products: Avoid harsh chemicals that can damage the cabinet surface. Stick to recommended products like TSP or a dedicated degreaser.
- Skipping the Degreasing Step: Grease is one of the biggest enemies of paint adhesion. Always use a degreaser to ensure the surface is clean.
- Not Allowing Enough Drying Time: Patience is key. Ensure the cabinets are completely dry before painting to avoid moisture-related issues.
By avoiding these mistakes, you can ensure your cabinets are perfectly prepped and ready for painting.
Expert Tips for Achieving a Flawless Finish
As an expert cabinet painter, I’ve gathered several tips to help you achieve a flawless finish:
- Inspect for Residue: Inspect the cabinets for any remaining residue after cleaning. If you find any, clean it again.
- Lightly Sand the Surface: Once the cabinets are clean and dry, lightly sand the surface to create a smooth, even texture for the paint to adhere to.
- Use a Tack Cloth: Use a tack cloth to remove any dust after sanding. This step is crucial for preventing dust from interfering with the paint.
How to Clean Cabinets Before Painting for Perfection
Properly cleaning your cabinets before painting is essential for achieving a flawless finish. By following these steps and avoiding common mistakes, you can ensure that your cabinets look professional and last for years. If you’re looking for expert help, consider hiring a professional cabinet painter to handle the job.
Want to give your cabinets a fresh, new look? DeltaPro Painters is here to help! As a leading cabinet painting company serving Mason, West Chester, Cincinnati, OH, and the surrounding areas, we pride ourselves on our expert craftsmanship and use of premium products like Sherwin Williams Emerald and Benjamin Moore.
Contact us at 513-436-3473 for a FREE estimate.